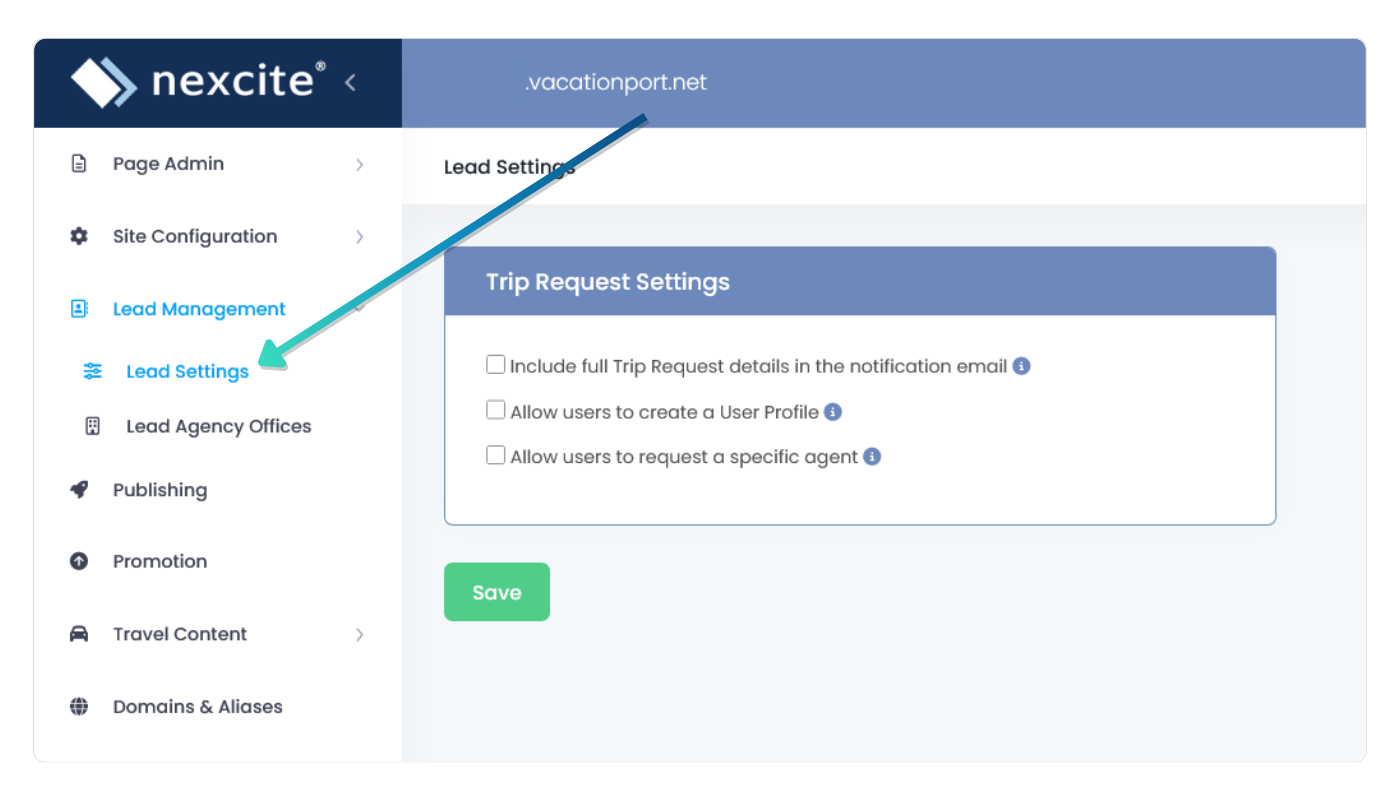
Lead Management

Lead Management Setup

Configure how trip requests are submitted, routed, and managed through your website.

1

Open Lead Settings

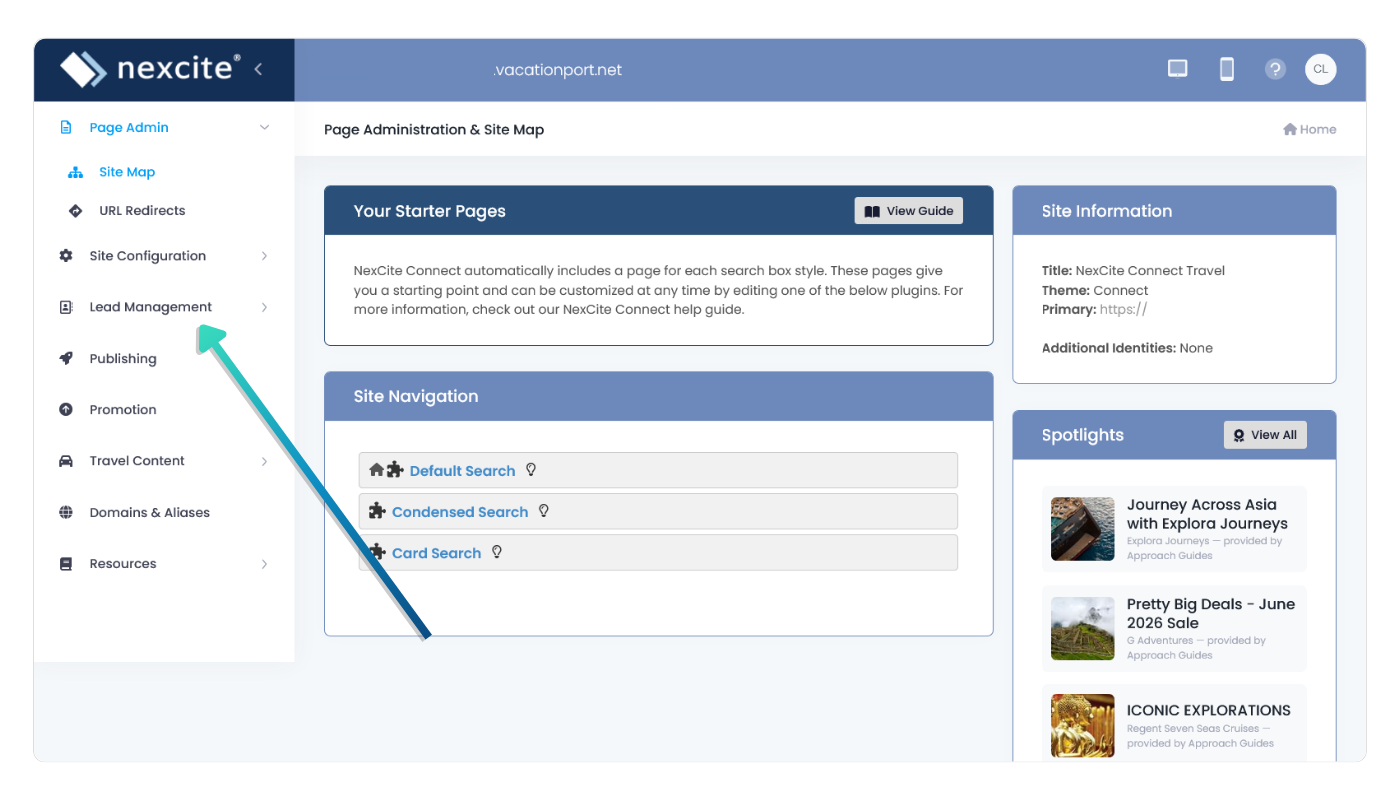
From NexCite Connect, select Lead Management, then select Lead Settings.

This area controls how trip requests are submitted through your website.

Lead Settings in NexCite Connect
2

Configure Trip Request Settings

Choose how visitors can submit trip requests and how notifications should be handled.

  • Include full trip request details in notification emails
  • Allow users to create a profile
  • Allow users to request a specific agent
  • Use an existing site form as the trip request page
Trip Request Settings
3

Open Lead Agency Offices

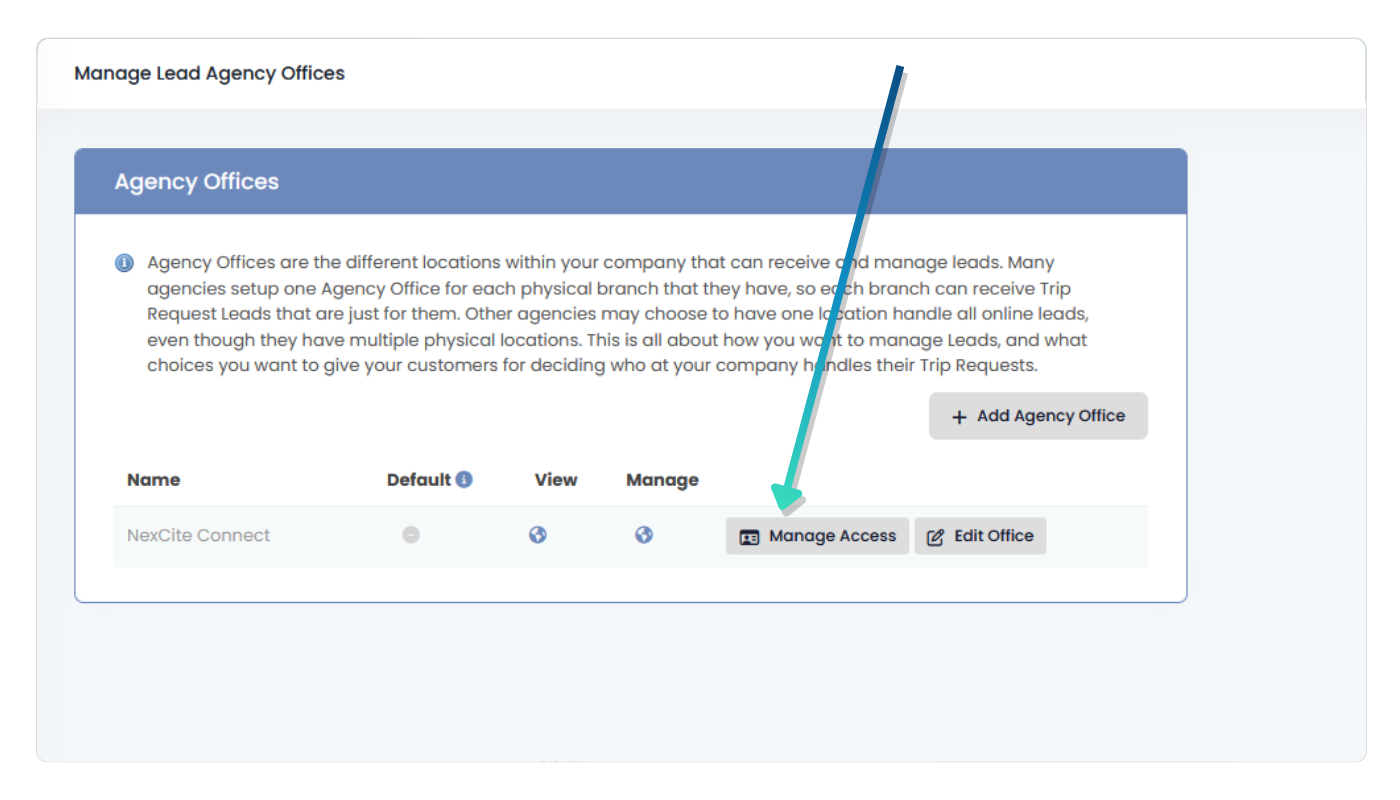
Select Lead Management, then select Lead Agency Offices.

Agency Offices allow you to control which agents can access leads from specific offices, locations, or departments.

Lead Agency Offices
4

Assign Lead Access

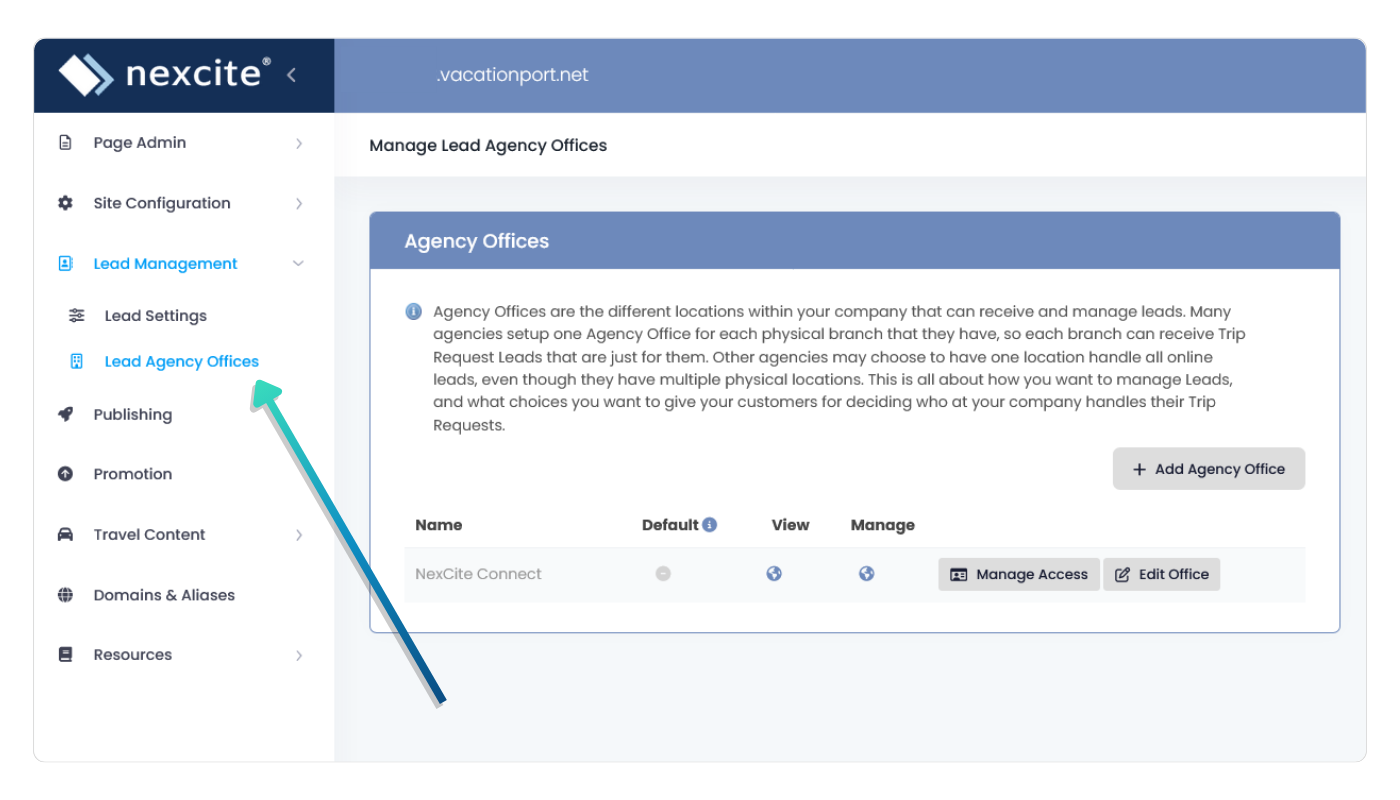
For each office, choose which agents should have access to leads submitted for that office.

  • All Agents: allows all agent accounts to access leads for the office.
  • Per Agent: allows you to assign access to specific agents.
Assigning lead access

What Happens When a Visitor Submits a Request?

  • A visitor submits a trip request from your website.
  • An email is sent to you as a notification or containing the full trip request information, depending on your settings.
  • The request is stored in AgentPort.
  • An assigned agent can review, manage, and follow up on the lead.

Next: View Submitted Leads

Learn where trip requests appear in AgentPort and how to review, assign, and manage submitted leads.

View Leads